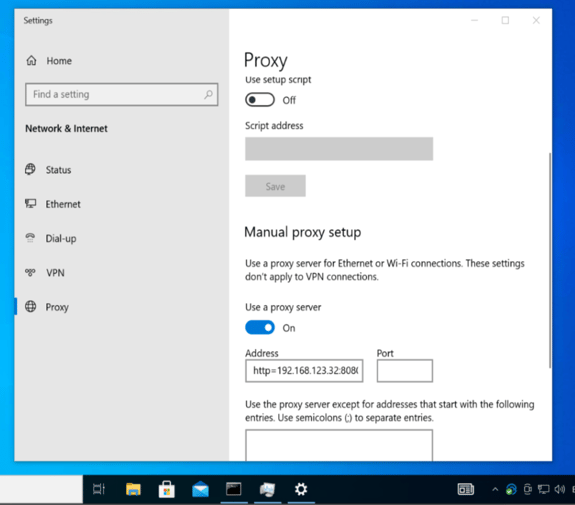
Forward proxy deployment uses an intermediary that sits between users and any resource or application. The proxy provides advanced network protection filtering and blocking access.
The most common use case of forward proxies are solutions that block groups from accessing malicious websites from the company’s devices so that the enterprise’s network is protected. Secure web gateways (SWG) are examples of forward proxies that provide advanced network protection by filtering and blocking access to websites. The proxy server hides an enterprise's address or domains from public view and allows Administrators to control which groups can have access to specific websites.
This feature integrates ZTNA with forward proxy management through Safous.
Overview of Safous’s Solution
Using SWG alone can be cumbersome as much as it requires proxy server configuration on every device. The Safous solution use case integrates a secure gateway in order to provide ZTNA alongside forward proxying service.
The solution integrates forward proxies, creating a relationship between identities and the proxies through which they are permitted to access. As described more fully below, this feature is configured in the Admin Portal (Settings > ZTNA > Configuration > Integration > Forward Proxy) page.
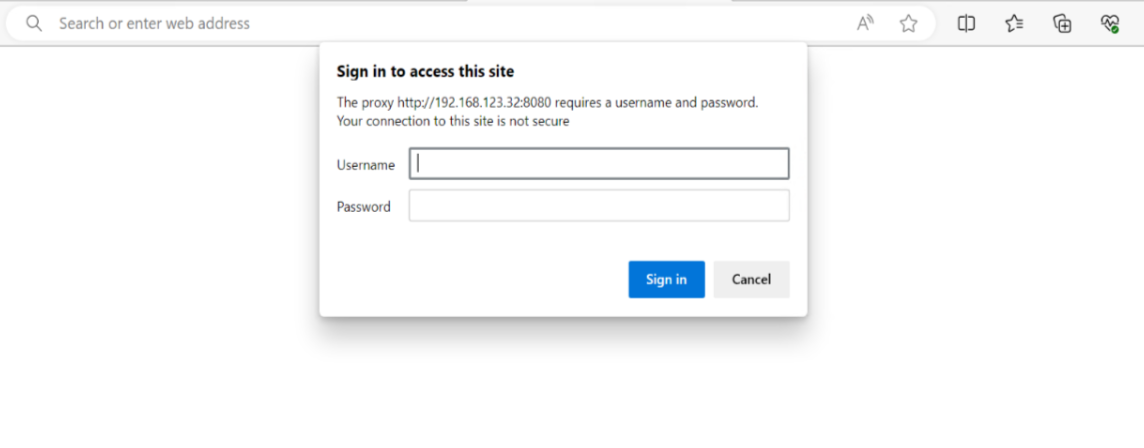
The prerequisite for this feature is an activation of Safous Agent on every device. In order for the forwarding proxy solution to work, users must be working on a device with Safous Agent installed and running. If a user disconnects, uninstalls, or logs out of the agent, s/he will not have access to applications.
In the configuration process, Administrators can select multiple sites. Users will be connected via the App Gateway closest to their location.
Configuration
Step 1: In the Admin Portal, navigate to the Settings > ZTNA > Configurations > Forward Proxy. To add a new Forward Proxy, click on the orange New Forward Proxy button in the top right-hand corner.
Step 2: Configuration of the proxy policy occurs on the screen that looks like the screenshot below:
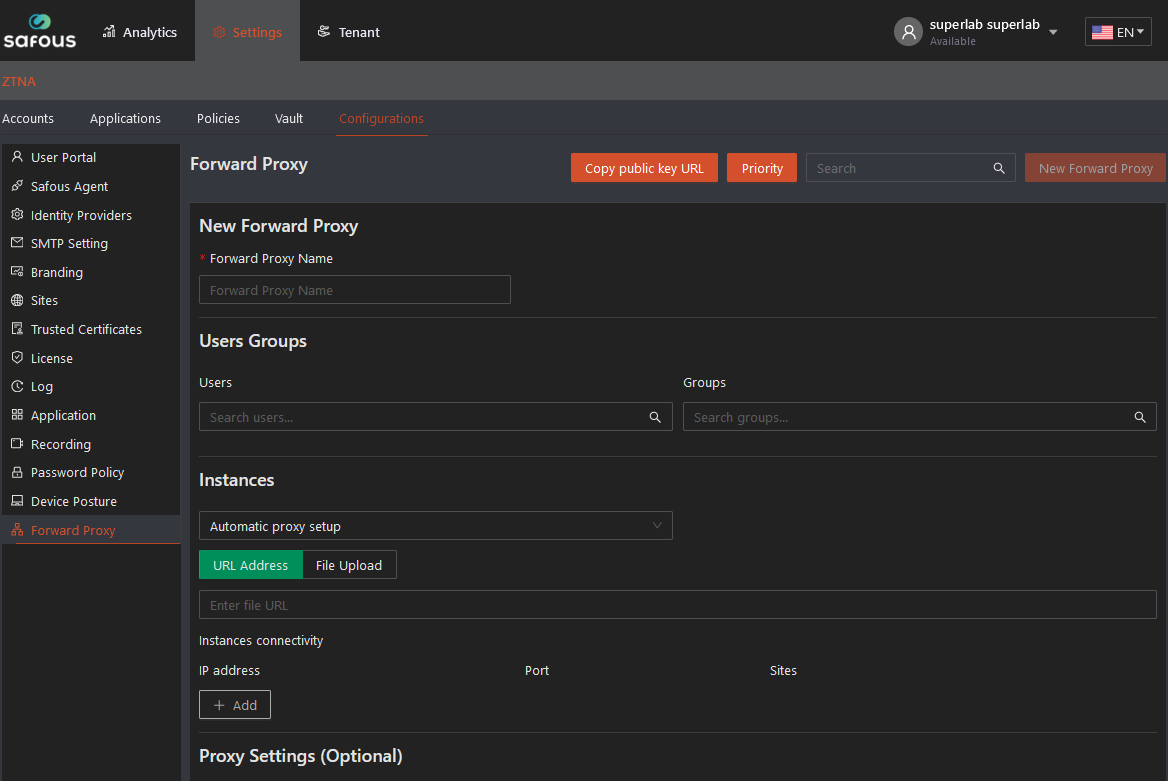
Step 3: Give the proxy a name, one that you can easily locate later on.
Step 4: In the Users Groups section, indicate to whom the proxy will apply. Your choices are blank (Allow any authenticated user), or “Specific users/groups”.
Step 5: The Instances section allows Administrators to configure instances for proxy implementation. Manual setup is a static proxy configuration. Automatic setup means that the proxy policy automatically grabs the PAC file or the information from the URL.
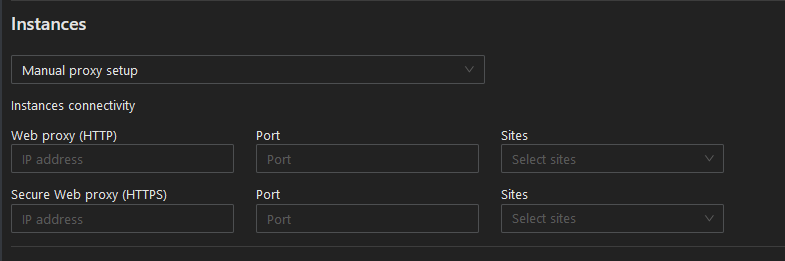
Step 6: If you select “Manual proxy setup” you will be prompted to enter the web proxy for HTTP/S and select the site where the proxy sits, as shown in the screenshot below. Both HTTP and HTTPS need to be completed in manual mode:
Step 7: Selection of “Automatic Proxy” prompts you with two tabs, as shown in the screenshot below. You can either select the URL address tab and enter the URL where the PAC sits, or select the file upload tab and upload the proxy configuration file (PAC). You cannot select both:
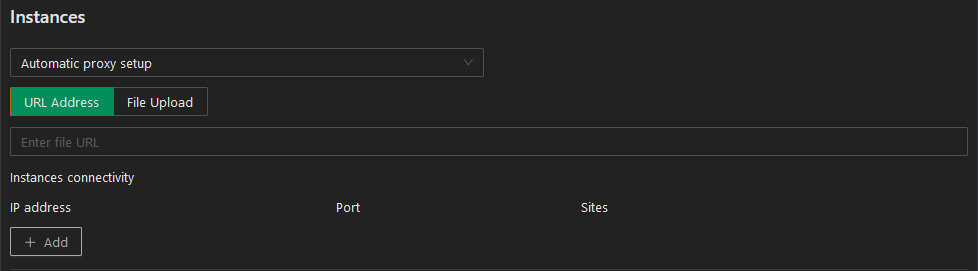
Step 8: In the Connectivity section, enter the IP address, port, and the site to which the forwarding applies. Please note if your PAC file contains IP address that are not in the Instances, the forward proxy will not work.
Step 9: For Automatic proxies, you can add as many proxy addresses that are needed by clicking the orange Add button.
Step 10: Administrators are able to select multiple sites in Automatic proxies and in Manual mode as noted above in Step 6.
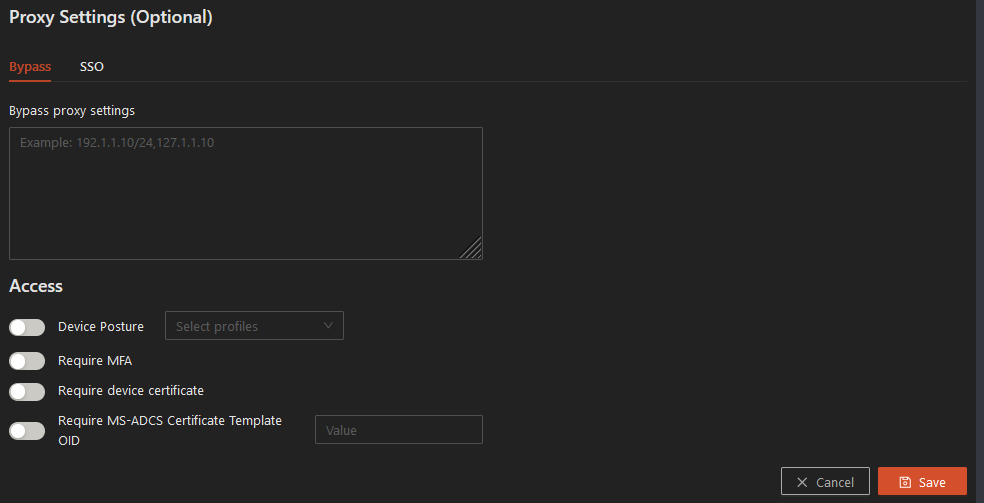
Step 11: The Proxy Settings section offers the option of entering HTTP/S sites that skirt the policy and allow you to identify the user against the proxy:
-
Bypass Proxy Settings field: Enter the IP address, CIDR, or hostname for the websites that are intended to bypass the proxy settings (Mac example *.local,169.254/16; Windows example localhost).
-
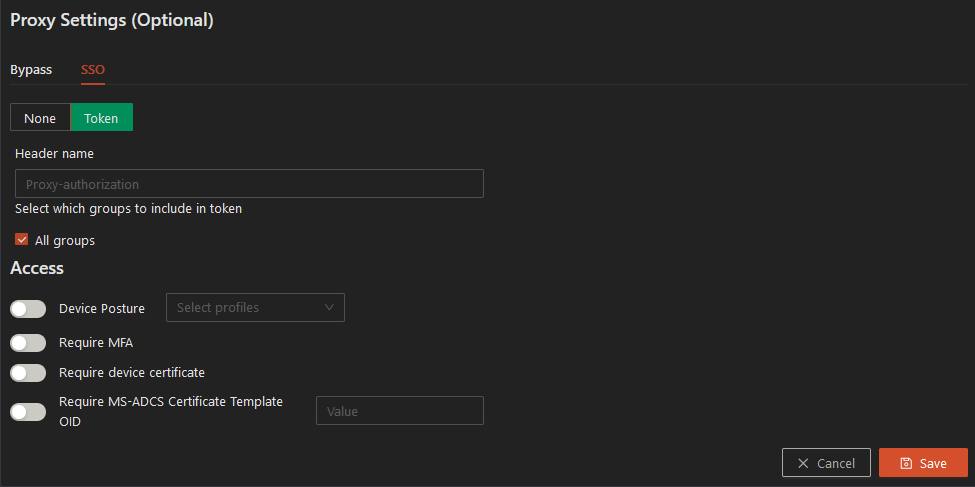
SSO Tab:
-
None Tab: Selection of none means that Safous ZTA does not send any identification of the user to the application.
-
Token Tab: The token includes the identity of users and this token is placed in the header name field. The token includes the groups to which the user belongs.
The groups that are sent in the token are a cross-section of the groups that a user is a member of and the groups that are included in this section of the proxy. All Groups is selected by default and it includes all of the groups and users that are configured under identities. For example, if User X is a member of 5 groups, all of User X’s groups will be in the token forwarded to the proxy. If you de-select All Groups, you will be offered the option of pinpointing specific groups to be included in the token that is forwarded to the proxy. For example, if User X belongs to Group A, and you selected Group A, B, and C, only Group A will be sent.
-
Step 12: Define the Access element of the proxy policy. This is the same type of configuration that is done for all network-based applications. The fields include:
-
Device Posture: For more information on the configuration of Device Posture, please see here.
-
Requiring MFA: If you select this toggle, users who did not already go through MFA (either using their own MFA, working with their IdP or Safous MFA), are forced to go through MFA when they try to access the resources or applications in this policy. You can select “every session,” or “once in.”
-
Require Device Certificate: If enabled, you can select between “Any certificate” or “Trusted Certificate.” If you are selecting a Trusted Certificate, you must first upload the certificate in the Settings > ZTNA > Configurations > Trusted Certificate screen. Then the Trusted Certificate will be listed in the dropdown box on the Policy page. If “Any Certificate” is selected, any self-signed certificate will allow access to the resource.
-
Require MS-ADCS Certificate Template OID: If enabled, please enter the certificate value. For generated device certificates, enforce a specific certificate type.
User Experience
Once the Forward Proxy configuration is added, the Safous ZTA agent will push the proxy configuration to each connected device without the intervention of the administrator.