This article will help you on how to integrate Google Workspace into Safous ZTNA service as the external Identity Provider for authentication.
Prerequisites
- You have account in Google Workspace with Admin privilege
Get Identity Provider Data in Google Workspace
- Login to your Google Workspace portal https://admin.google.com/
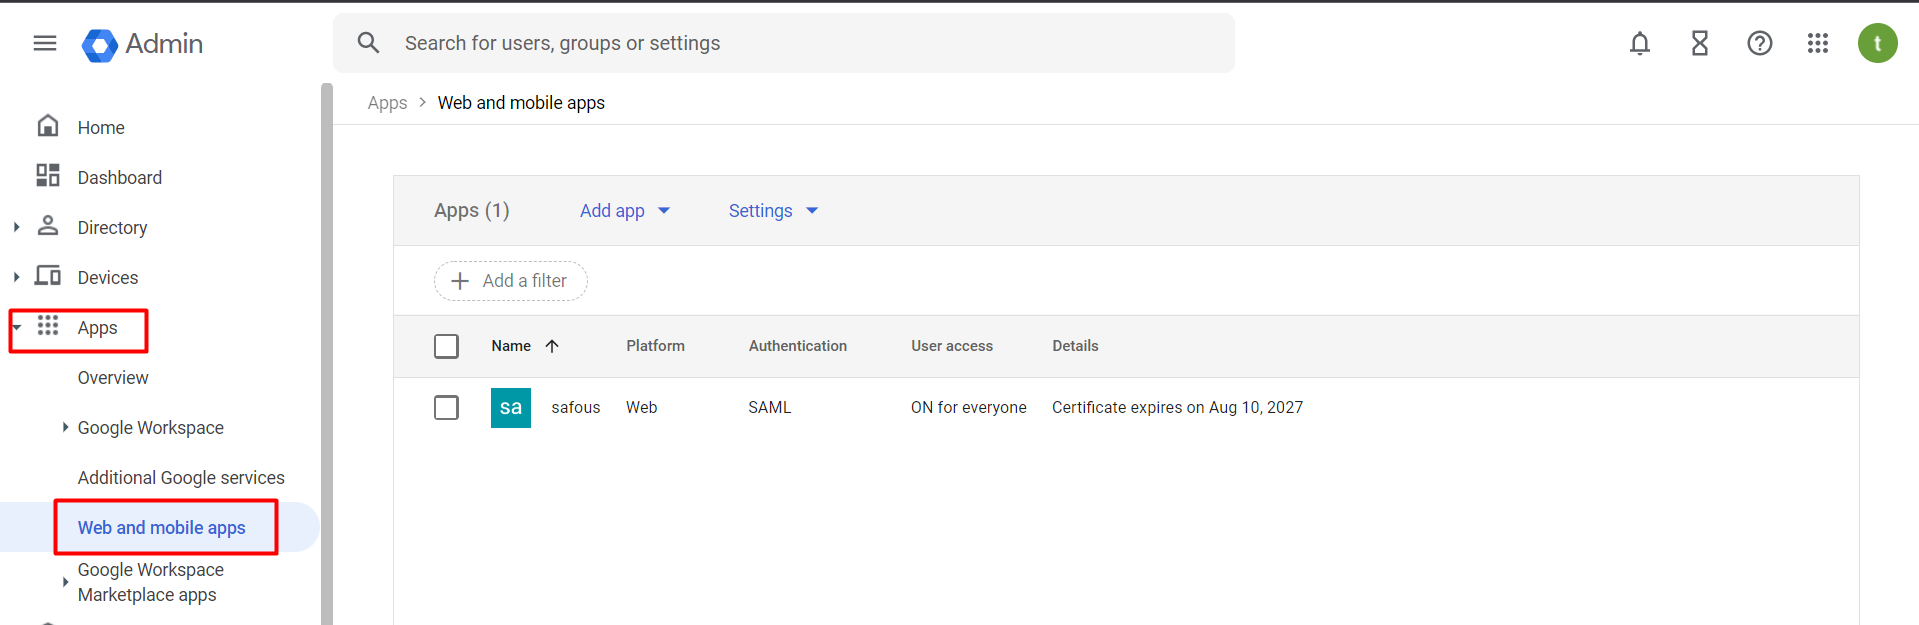
- Go to Apps > Web and mobile apps
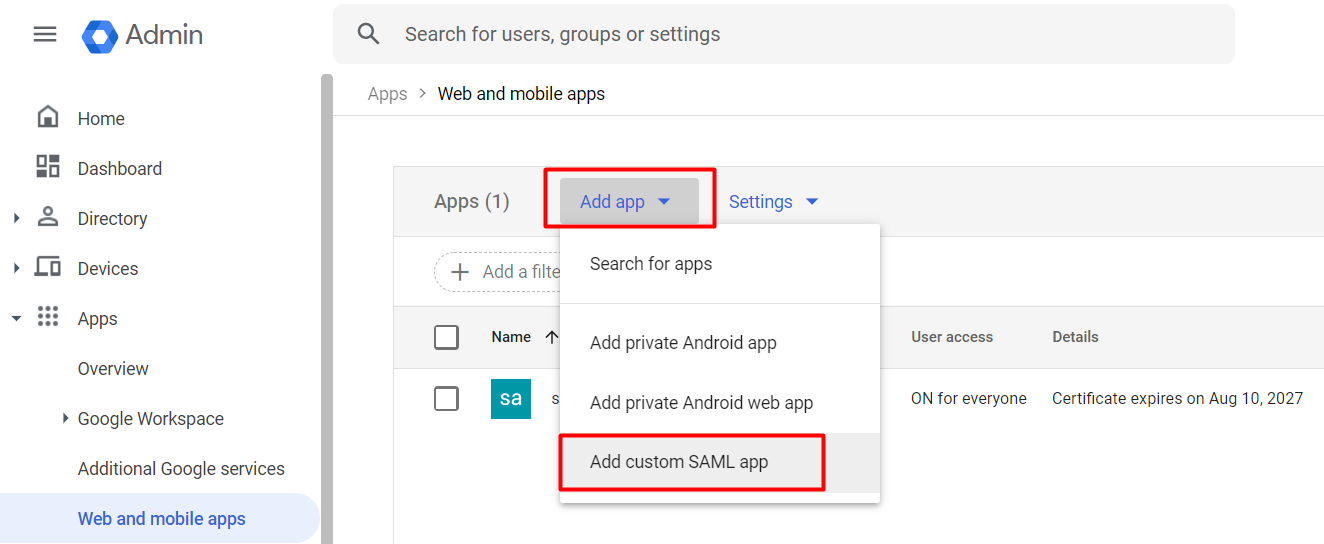
- Click on Add app and choose Add custom SAML app
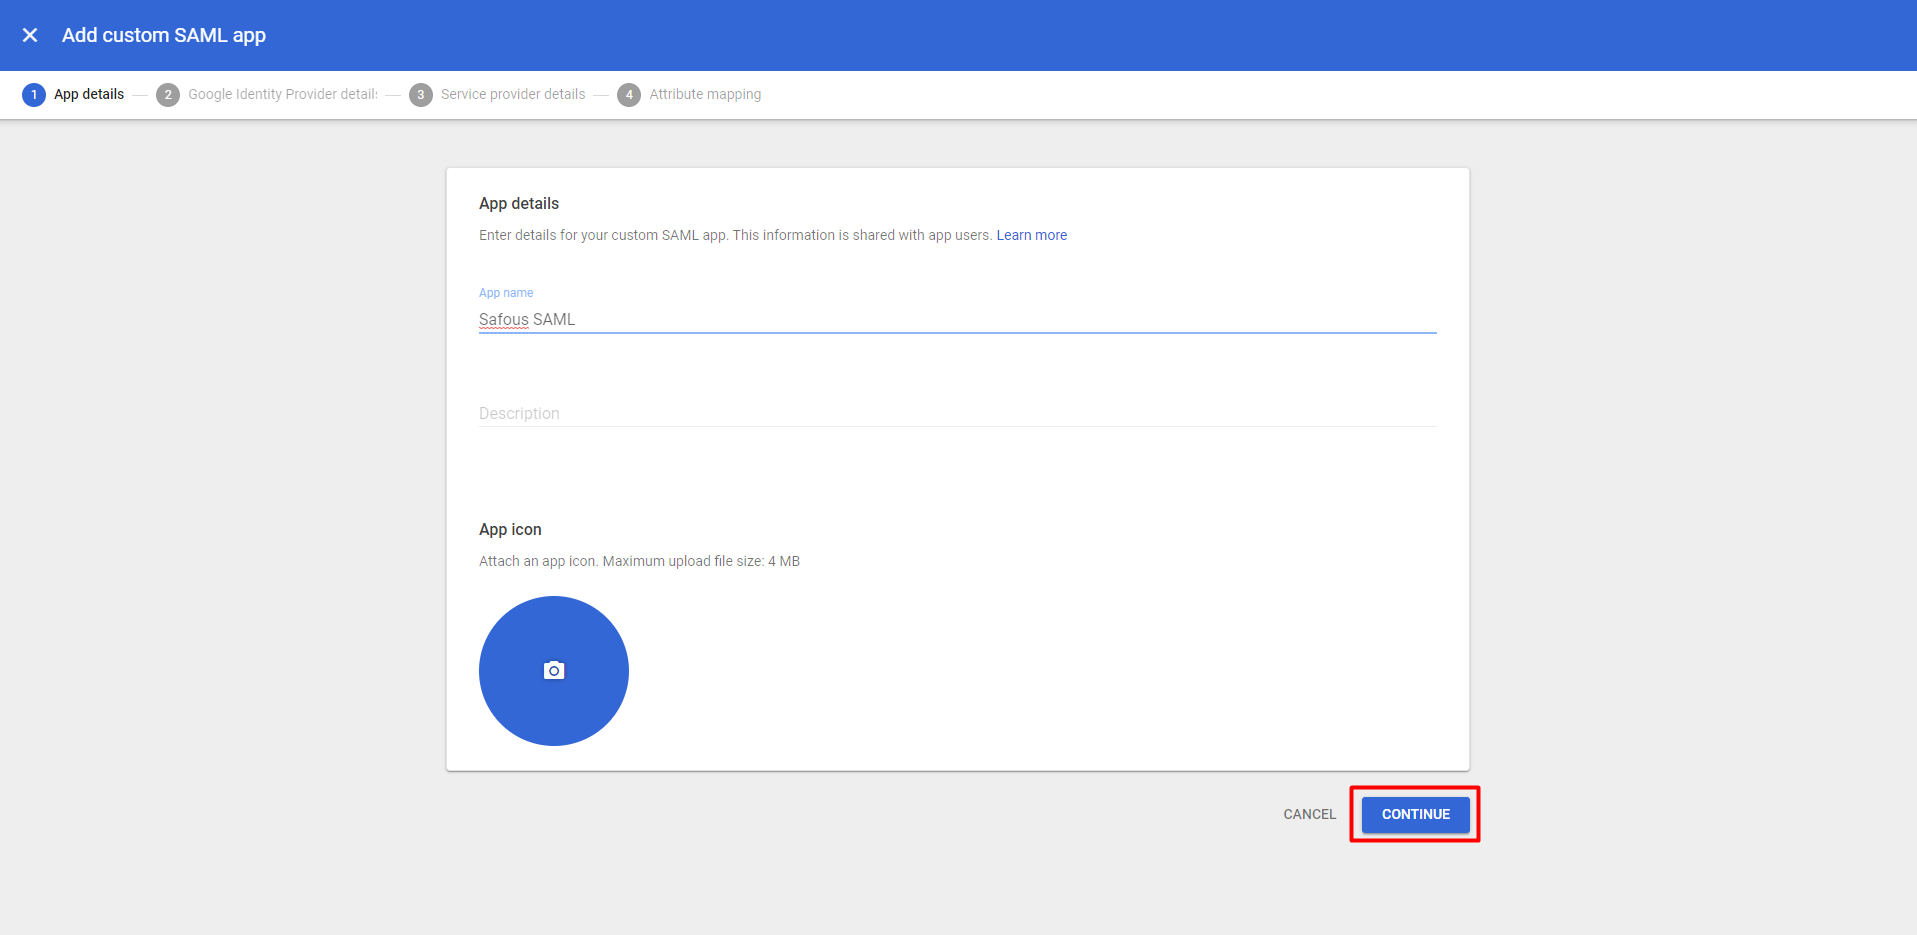
- Input the App name, which is the required value. You also can add detail description and change the app icon if you want. Then click Continue
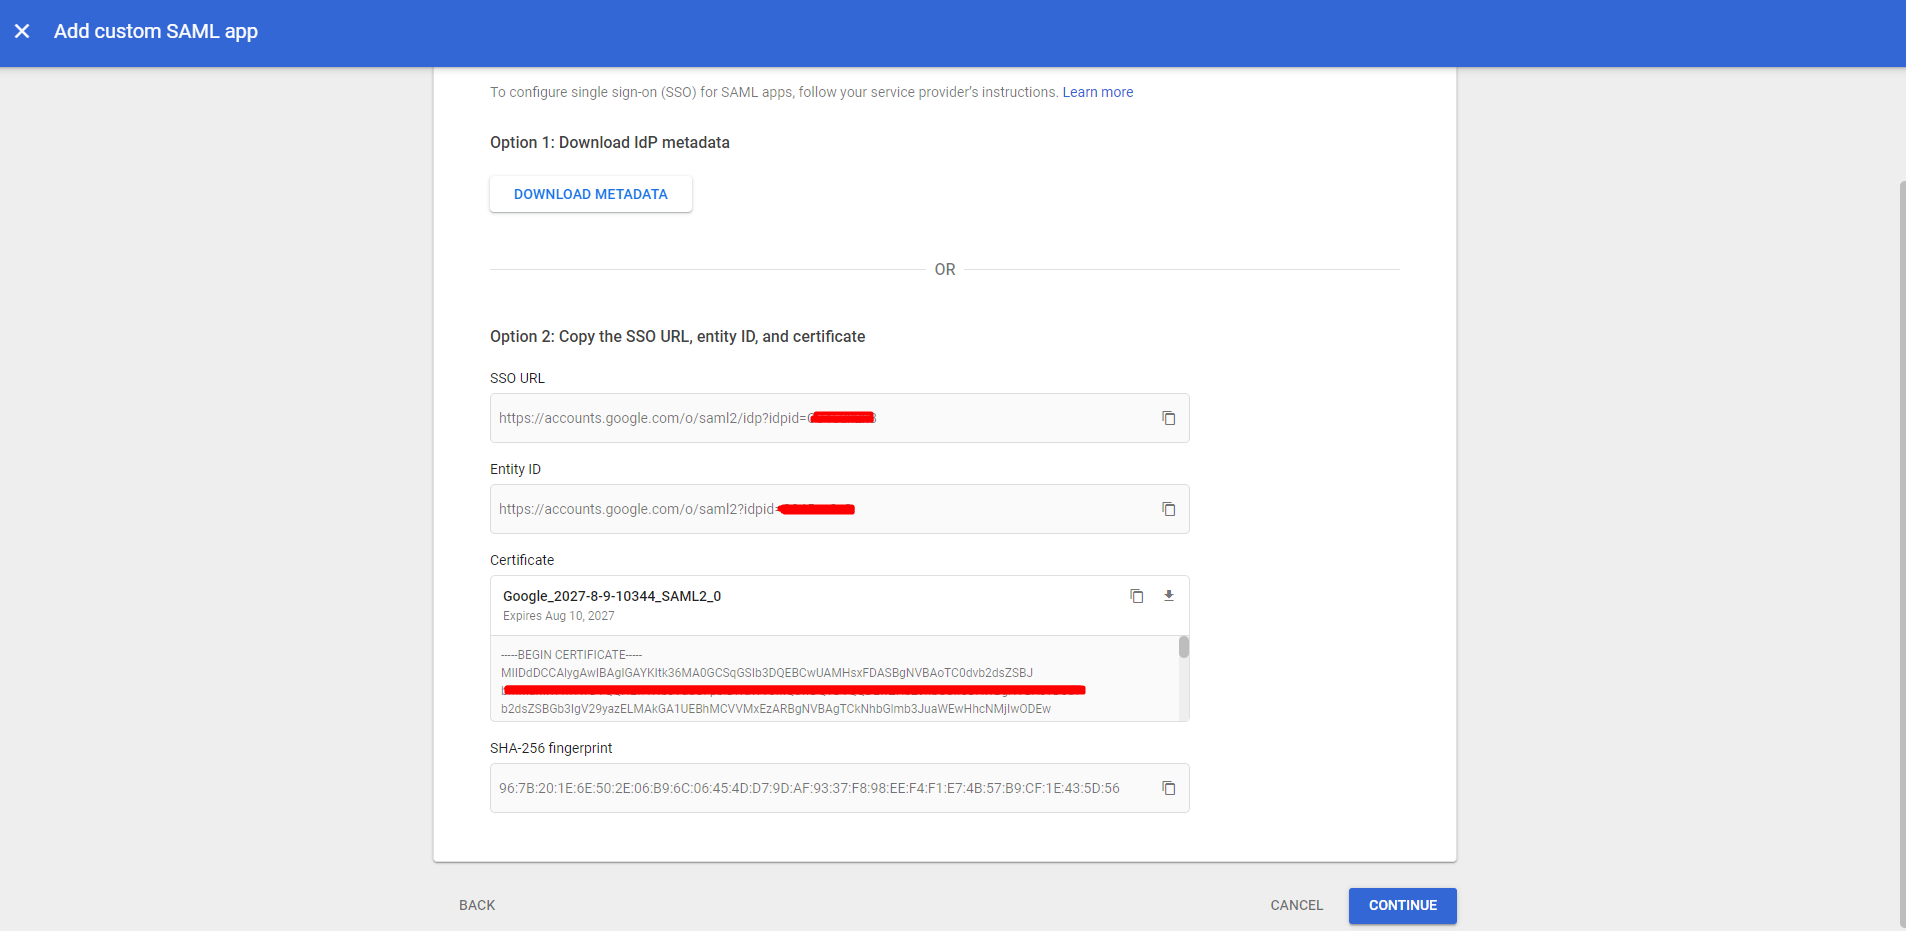
- It will open the detail about IdP metadata that is provided by Google Workspace
Configure Google Workspace as Identity Provider in Safous Admin Portal
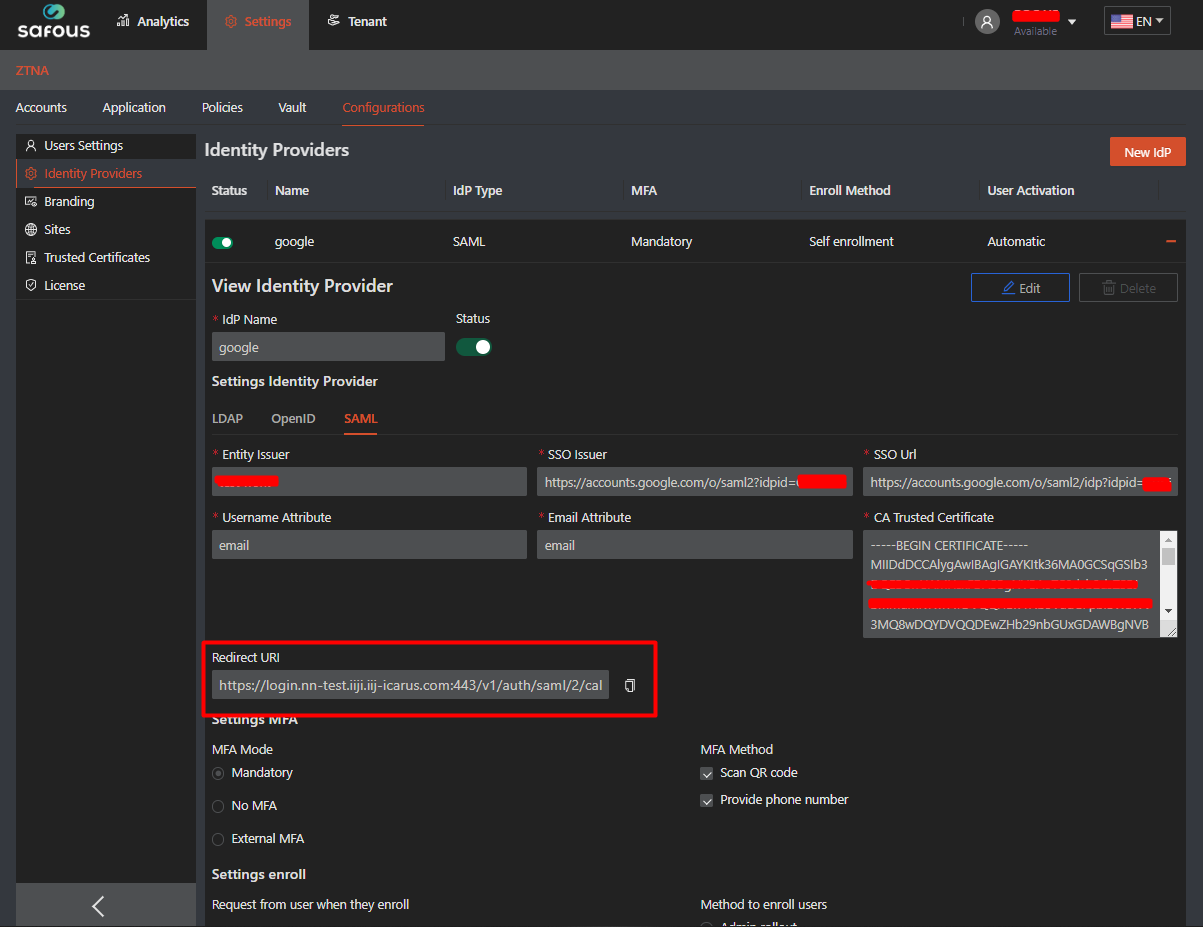
- Go to Settings > ZTNA > Configurations > Identity Provider then click on the New IdP button.

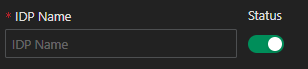
- Fill in the name and ensure that the status of the IdP is enabled (green).
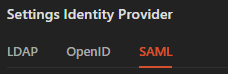
- Ensure you are choosing the SAML for the identity provider setting
- Fill in the Entity Issuer field with a name that will be used in Google Workspace later on and take note of it.

- Fill in the Entity ID that you take notes previously from Google Workspace in SSO Issuer field.

- Fill in the SSO URL that you take notes previously from Google Workspace in SSO Url field.

- Fill in the Certificate that you take notes previously from Google Workspace in CA Trusted Certificate field.

- Fill in email as the value for required Username Attribute field.

- Fill in email as the value for required Email attribute field.

- For the rest of Safous ZTA SAML configuration please refer to this article.
- Once you are done with the configuration, click Save.

- Once saved, you need to copy the value of Redirect URI generated by Safous.
Configure Safous as SAML App in Google Workspace
- Go back Google Workspace, then click Continue
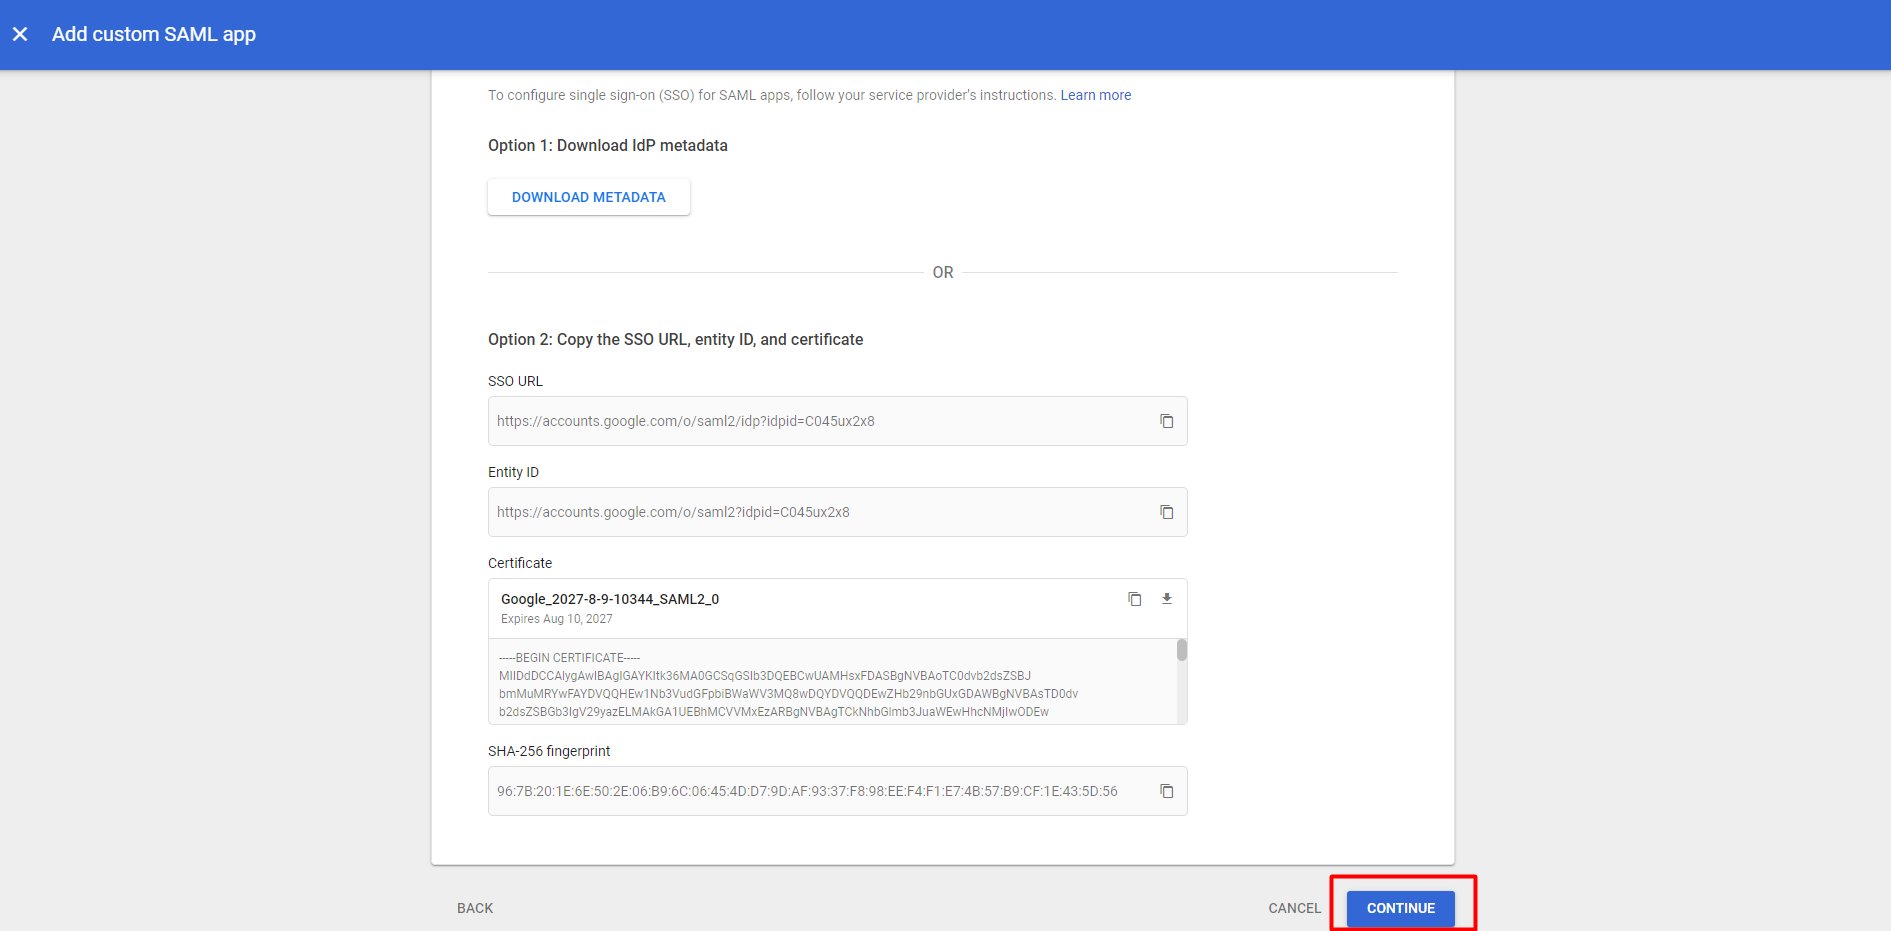
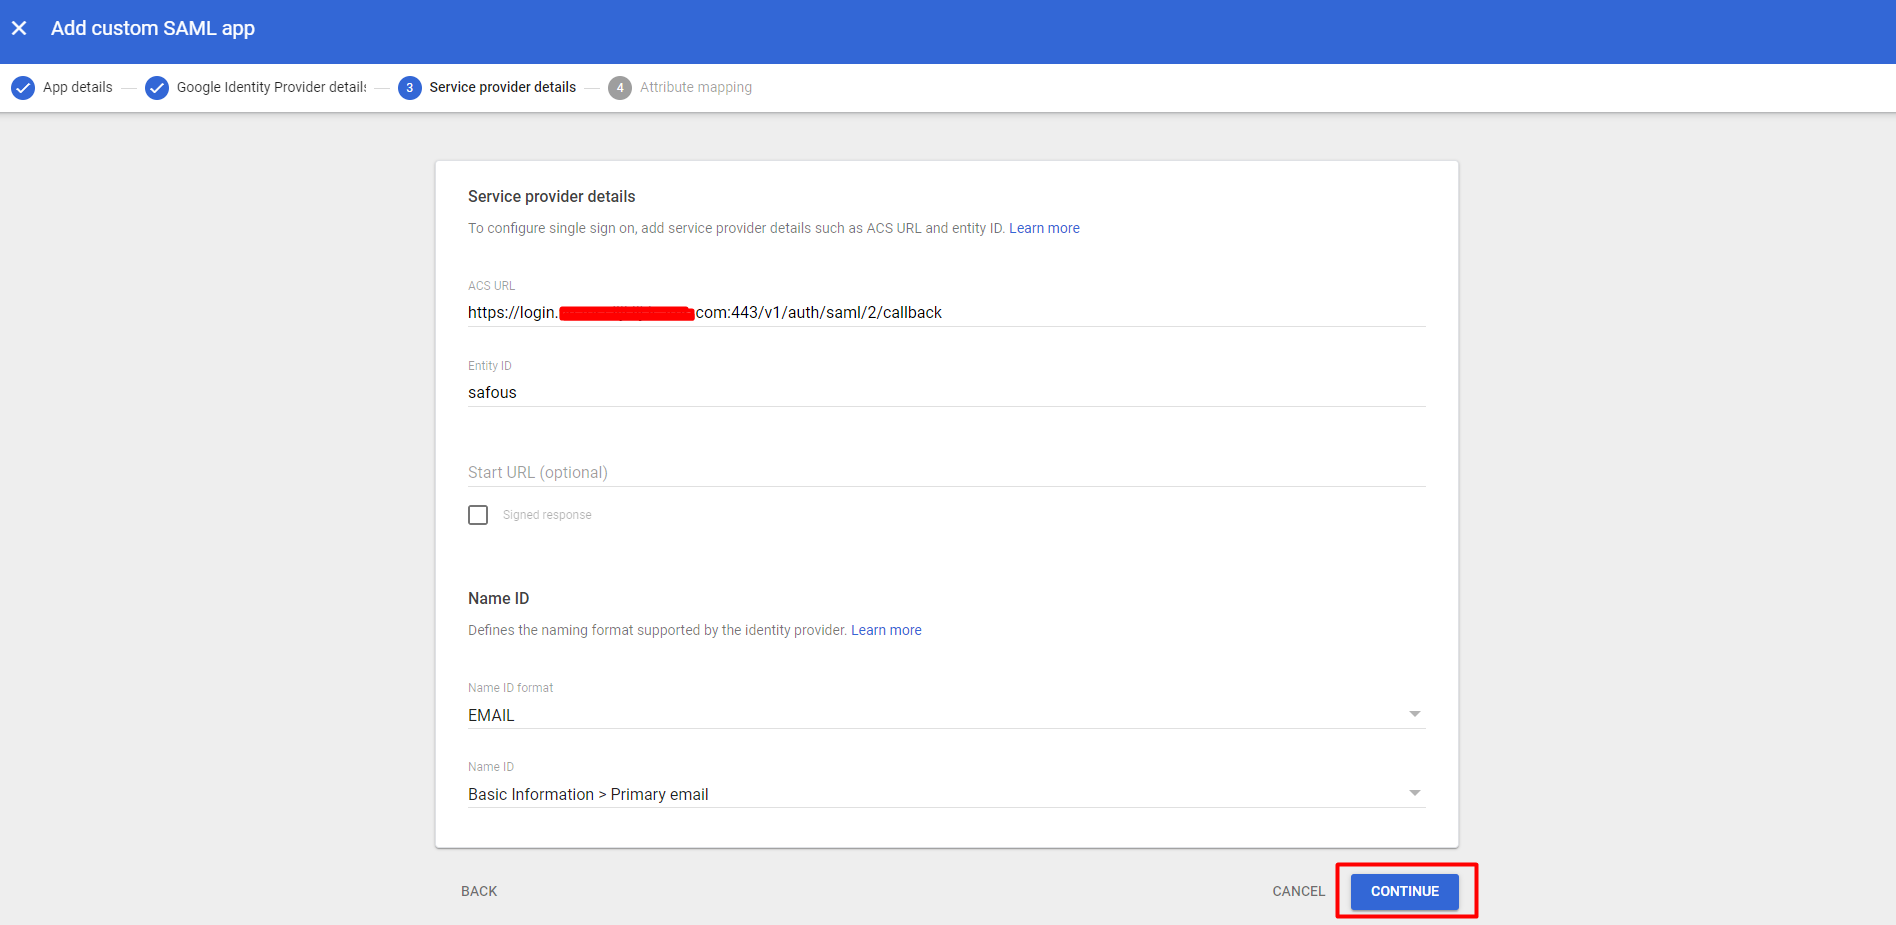
- Fill in the Redirect URI that you take notes previously from Google Workspace in ACS URL field.

- Fill in the Entity Issuer that you take notes previously from Google Workspace in Entity ID field.

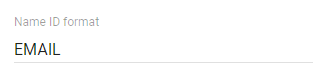
- Change the Name ID Format into "EMAIL"
- Click Continue
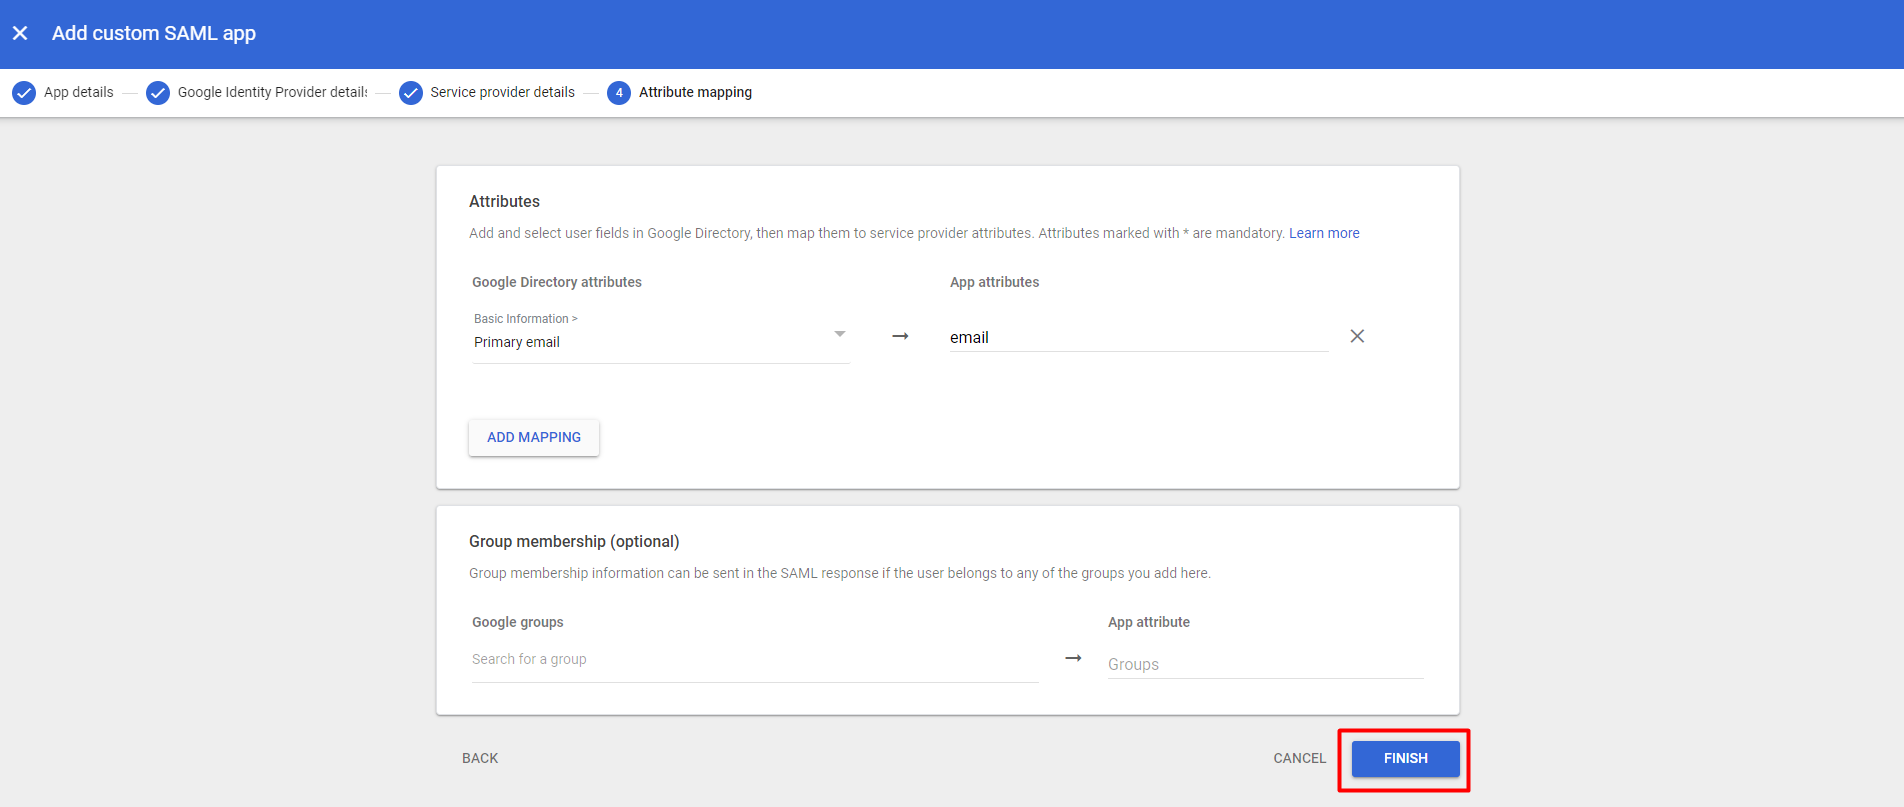
- Add Mapping in the Attribute
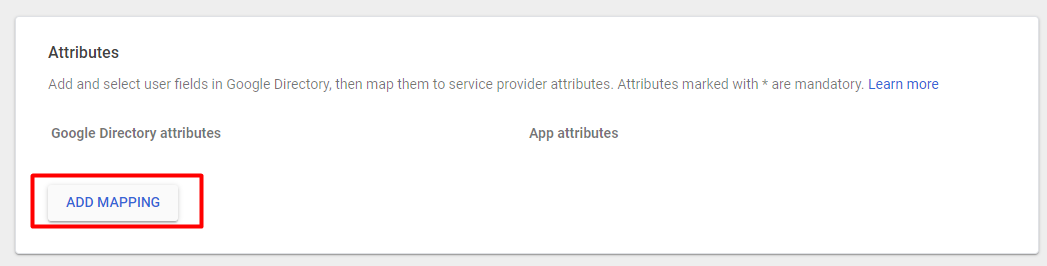
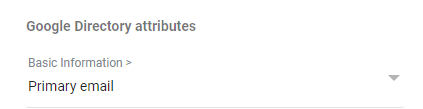
- For Google Directory Attribute, choose "Primary email"
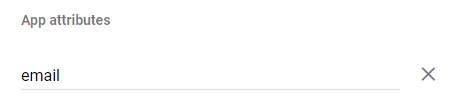
- For App attribute, type "email"
- Click FINISH
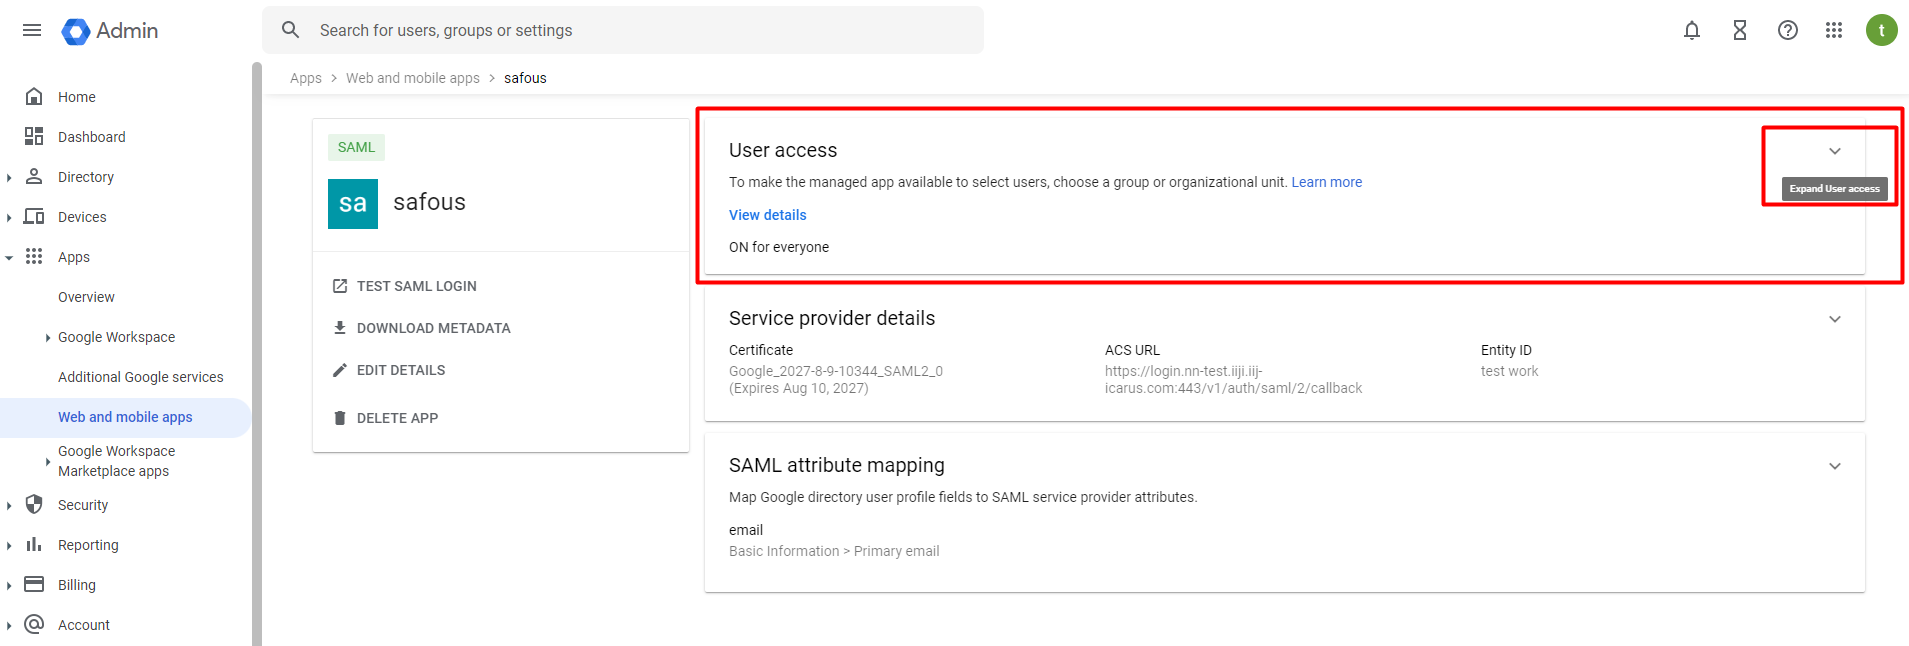
- Once created, it will redirect you to the App page that you created.
- In User access click "Expand user access"
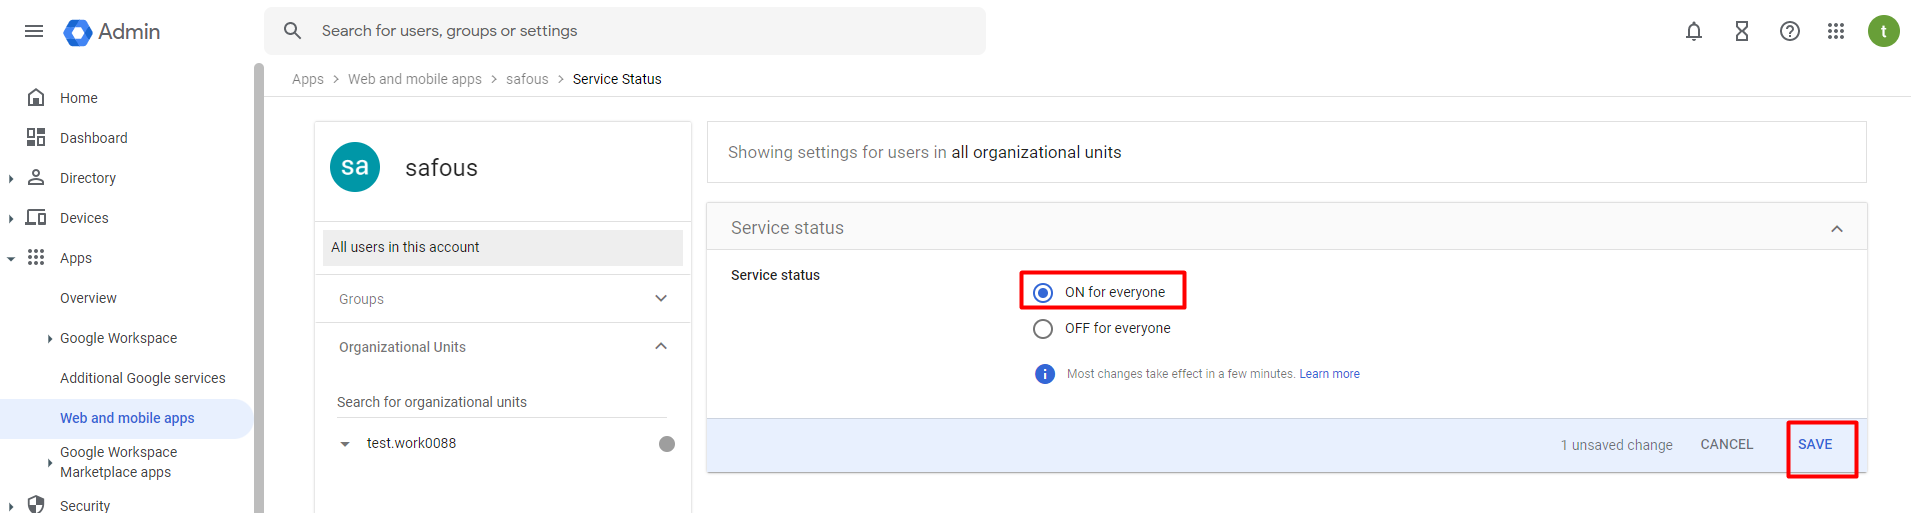
- You will be taken to the settings page for the app you just created. Make sure to select the option to enable access for everyone, and then click "SAVE" to apply your changes.
- If everything is configured correctly, you can log in to the user portal (https://login.<tenant>.ztna.safous.com) and choose to log in With IdP, where you will see the option to continue with your integrated Google Workspace SAML IdP.

