This article will guide you on how to integrate IIJ ID into Safous ZTA service as the external Identity Provider for authentication.
Prerequisites
Before continuing the steps in this article, please ensure you:
- Have an account in IIJ ID with ID Administrator Management privilege
Configuring Application in IIJ ID
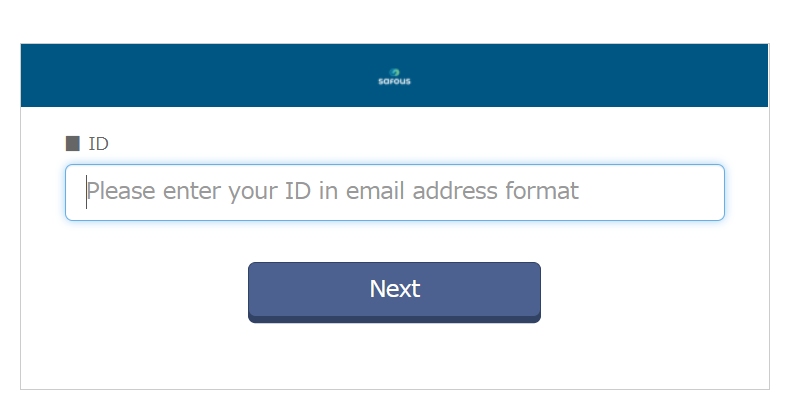
- Login to your IIJ ID portal.
- Once logged-in, navigate to Application > Application Management

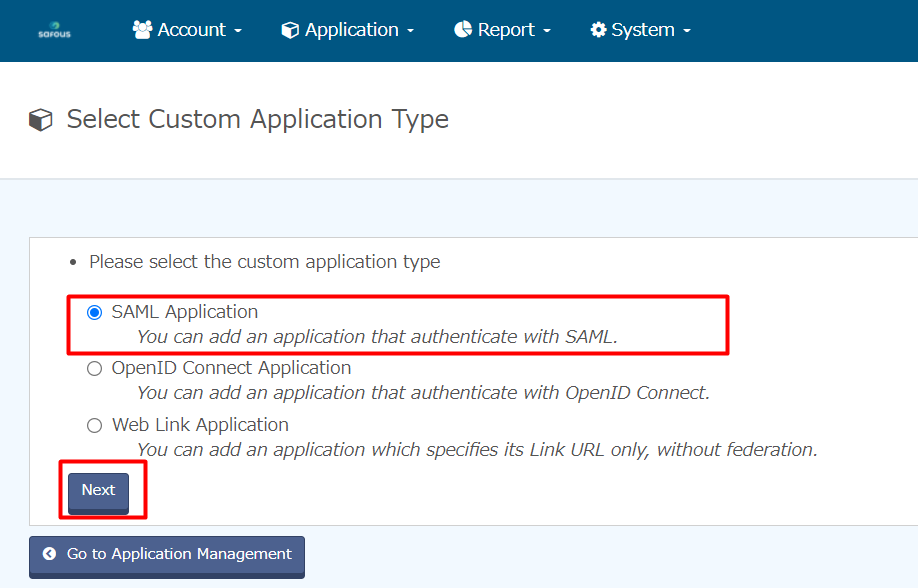
- In Application Management click "Add Application" > "Add Custom Application"

- In type selection, please select SAML Application option and click "Next"
- The next page will be open, which prompts you to fill the form that is being provided. Once filled, click "Add Application".
- Application Name is a mandatory field used to distinguish one application from another.
- Application description is an optional field used to provide a description of the application.
- Application logo is an optional feature to add custom logo for your application
- For Select an ID provider, please make sure to select "Use application-specific entity ID"

- Now, your newly created application can be seen on Application Management, then click "edit" on the application which will redirect you to the setting page of the application.

-
Click on the Federation tab. Configure the settings below:
-
On SAML Basic Information, click on the Enter SAML information radio button.
-
Enter the callback URL generated on Safous admin portal in the Single sign-on URL field.
This callback URL is automatically generated when the admin has added a new IdP on the Safous Admin portal
(e.g https://login.<tenant>.ztna.safous.com/v1/auth/saml/1/callback).
As currently we have not yet configured anything on the Safous Admin portal, we will re-check it later and continue for now.
-
Enter a value to be used for the application's Entity ID. Please take a note of this value as we will use it later.
-
Click on the NameID format and choose urn:oasis:names:tc:SAML:2.0:nameid-format:persistent.
-
Choose RSA-SHA1 for the Assertion signing algorithm.

-
- Still on the Federation tab, scroll down to the Specifying User Identifier (NameID) section.
- For Mapped user attribute, choose "ID" from the dropdown.
- For Attribute Mapping (User Attribute) click "Add Mapping".
- Once done,click "Update".

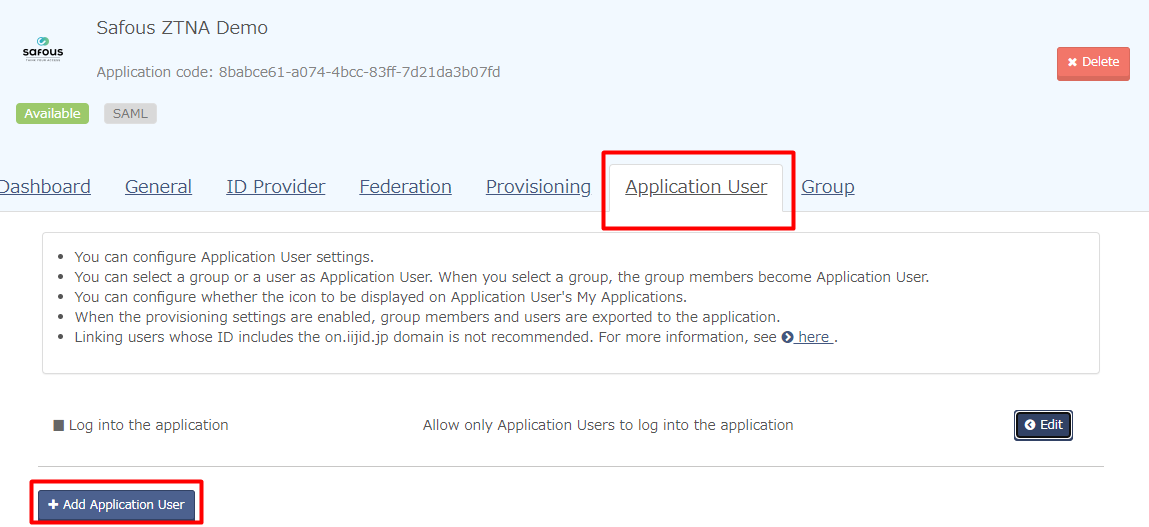
- Go to Application User tab, then click "Add Application user"
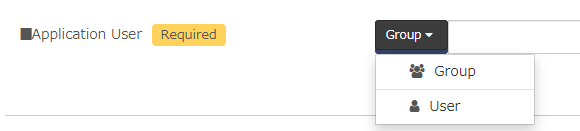
- In the Add Application User page, you can choose to add the Application User based on users or groups
- Once you add the necessary users and/or groups, you need to choose "Display the icon" on Display on my Application option. Then click "Add Application user"

- Every users that you added will be shown in the Application User details

- Click on the ID Provider tab and take note or copy of all the values displayed. We will use it later to do IdP configuration on Safous Admin portal.

- The table below lists and mapped out all the information needed from IIJ ID to configure it as external IdP on the Safous Admin portal.
IIJ ID Safous (Federation) Entity ID Entity Issuer (ID Provider) Entity ID SSO Issuer SSO Endpoint URL (POST binding) SSO URL PEM CA Trusted Certificate
Configuring IdP in Safous Admin Portal
- Go to Settings > ZTNA > Configurations > Identity Providers and click on the New IdP button.

- Enter the IdP name and ensure the status is enabled (green). In this example, we named it to IIJ ID - Example.

- Ensure you are choosing SAML for the identity provider setting.

- Paste your copied (Federation) Entity ID value in Entity Issuer field.

- Paste your copied (ID Provider) Entity ID value in SSO Issuer field.

- Paste your copied SSO Endpoint URL (POST binding) value in SSO URL field.

- Paste your copied PEM value in CA TrustedCertificate field.

- For Attribute Mapping, input email in Username and Email fields.

- Please refer to this article for the rest of Safous ZTNA SAML configurations.
- Once you are done with the configuration, click on the "Save" button.

- Recheck the generated "Redirect URI", does it match the one you configured in IIJ ID or not.


- If the "Redirect URI" matches, you can leave it as is, but if it is not, you need to change the one in IIJ ID to match the generated Redirect URI in Safous Admin portal.
- After everything has been configured correctly, you can try to log in to the user portal at https://login.<tenant>.ztna.safous.com. Select "With IdP" and notice that now there is an option to "Continue with IIJ ID".

