To create Browser Isolation application, you need two things:
- Ensure your tenant is already eligible for Safous SBI service. If you are unsure about that please contact you respective Safous sales representative.
- Ensure you have admin user to for configuring your environment including adding application. Please check this KB down below about Admin access:
Configuration in Admin Portal
- Go to Settings tab > ZTNA > Application > Browser Isolation

- Click New Browser Isolation. It will expand a form with multiple fields and choices which you will need to configure.

- Fill the required Name field with name of application that you wish to create. Please note that the application name must be unique among all registered applications.

- Select the URL option for SBI to access a public URL, such as google.com, outlook.com, safous.com, etc.
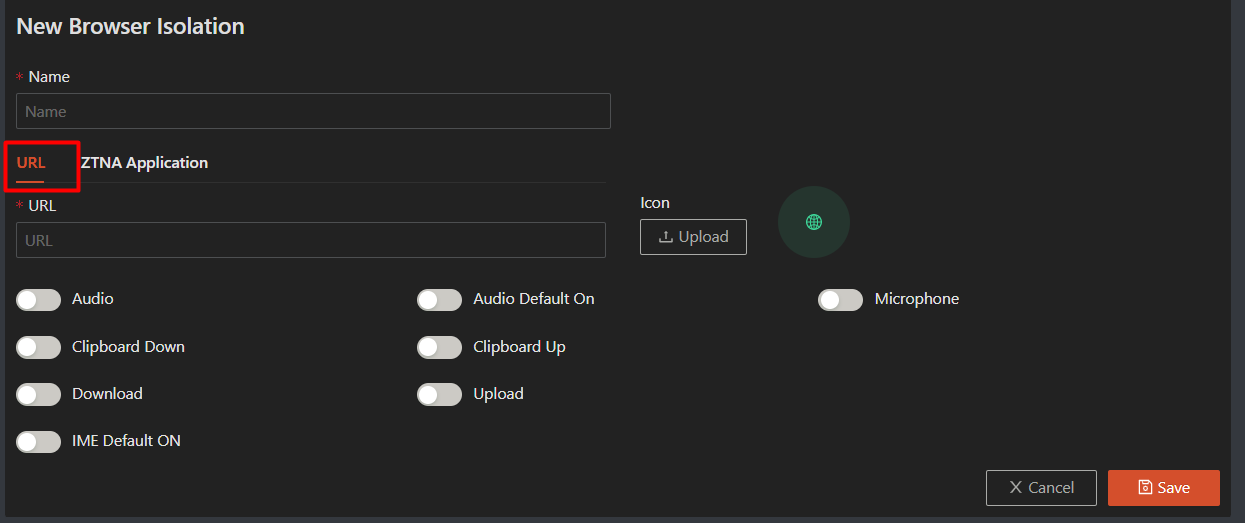
- Enter the public URL in the URL field, ensuring that the URL supports HTTPS (for example, https://google.com, https://outlook.com, https://safous.com, etc.). URLs not using HTTPS cannot be registered.


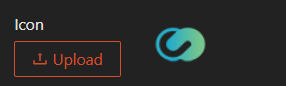
- You have the option to change the icon of the SBI application by clicking "upload" under the Icon section. By default, the system retrieves the favicon from the specified target URL.
- Choose the option and permission of your SBI apps.

- Audio -- When enabled, the SBI session will support streaming audio from the session to the user
- Audio Default On -- When disabled, the audio service will be muted by default
- Microphone -- When enabled, the SBI session will allow the user to pass their local microphone into the session
- Clipboard Down -- When enabled, the SBI session will allow copying data from the session to the users local computer via the clipboard
- Clipboard Up -- When enabled, the SBI session will allow copying data from the user’s local computer to the session
- Downloads -- When enabled, the SBI session will allow download files from the session to their local computer via the control panel download widget
- Uploads -- When enabled, the SBI session will allow the user to upload files from their local computer to the session via the upload widget in the control panel
- IME Default On -- When enabled, IME mode will be enabled by default
- Once every field and option has been chosen, the only thing to do is to click the Save button.

- Then it will give you successful notification

To access SBI application that you created, you need to make sure of these things:
- User already created by admin, please refer to here
- User already enrolled the MFA and can login properly, please refer to here
- Admin already created policy mapping for app and user authorization, refer to here
- Your favorite web browser to open User Portal
Once you log in, you will be presented with all the SBI applications (after filtering) that are accessible to you.

Click on the SBI app, then your SBI session will be created.